Common Leaking Shower Causes and How to Solve Them
Repairing a leaking shower can be a demanding task and a costly endeavour if certain precautions are not taken at the onset of the repair process.
Many individuals think that if they are experiencing a leak in their shower, that complete replacement is necessary or at the very least new tiling must be done to avoid further issues. If proper instructions were followed during the install, both scenarios can be avoided as more than likely the problems can be fixed with simple repairs at minimal cost.
Mr. Wet Wall is here to guide you through common causes of shower leaks and the best ways to repair those issues using a DIY or professional approach. Regardless of the homeowner’s decision, the process should not conflict with your currently installed fixtures.
Problem 1: Porous, Leaking Grout
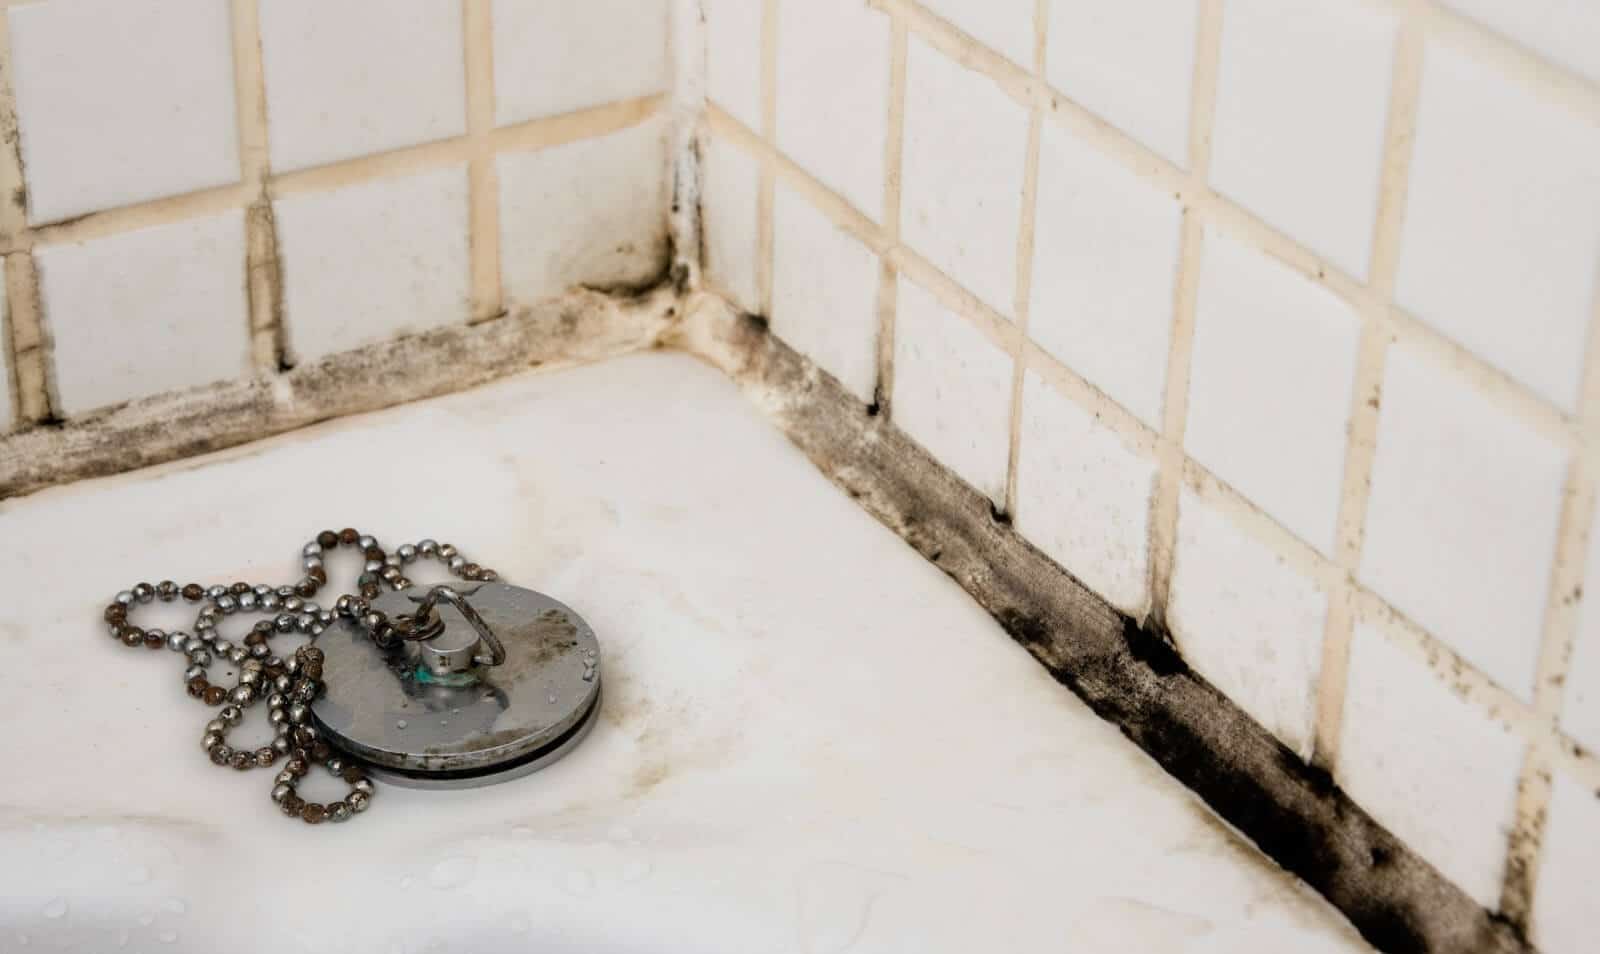
The most common area where leaks will occur is in the areas where grout has been used to bind or seal the material chosen for the install.
This issue is mostly caused by a building moving over time and this shift will generate cracks in the grout. This issue can be diagnosed if your shower has areas where floor or wall grout has gone missing; there is discoloration in the grout or tiles or there are sections where deterioration of grout has occurred over time.
Solution 1: Reseal
Before applying a new seal to your shower, make sure the grout has been thoroughly cleaned and any cracks or crumbles in grout lines have been repaired.
In doing so, you will ensure that dirt and damaged seams are not trapped behind the new coat of sealant. You can use a toothbrush and soapy water for minor cleaning and if deeper cleaning is needed, try using a vinegar and hot water solution to penetrate deeper soils and staining. Be sure to purchase a penetrating sealer as this is best for a bathroom or shower application. A water or mineral spirit base is ideal here because it allows the mixture’s tiny particles of latex or silicone to penetrate the grout and seal out moisture.
The seal applicator is also integral to the process based on what type of material you are working with. Most homeowners will choose an aerosol spray-on sealer for a matter of convenience, but thin grout lines with unsealed tiles may require the use of a sponge to apply the sealer correctly.
There are also situations where glazed tiles may require the use of a special applicator or brush that will allow the seal to adhere to only the grout. You will want to apply two coats of sealant when doing a repair and apply the application slowly and deliberately to ensure an adequate repair.
Solution 2: New Grout
Again, you will be looking to thoroughly clean the existing grout to free the area from mould and dirt. If this is not done properly the risk of cross-contamination from the old grout to the new grout will occur.
Removing the old grout can be achieved by chiselling delicately away at the grout lines with a screwdriver until the edges of the tile are exposed. Apply a generous amount of grout mixture to all lines and ensure your grout float has smoothed over and completely filled in any areas affected by the repair.
Once the grout has been applied, wait 24-48 hours before finishing up by caulking the expansion joints with a matching pigment for your grout. The last step will require you to follow the steps outlined in the reseal section.
Solution 3: Wet Wall Panels

An on-trend alternative to more traditional options, wet wall panels are attractive for repairs because there is no grout involved and the material is non-porous.
The lightweight panels make for an easy install and the low upkeep and maintenance saves time and money. This option also gives peace of mind as the space will stay looking refreshed and beautiful for a longer period over a more traditional repair.
Problem 2: Failed Waterproof Membrane

The majority of waterproof membrane failure lies in the construction process.
The contractor or DIY enthusiast shoulders much of the blame when a failure occurs because poor workmanship will most likely be the cause for the damage. Failure to prime parts and surfaces before waterproofing is applied can also contribute to issues. Residual moisture in the substrate can cause waterproofing issues as well. This causes adhesive failure or de-bonding of the membrane.
Solution: Preparation, Preparation, Preparation
In all accounts, a prepared individual will be the most successful when tackling an install of this magnitude.
The waterproofing membrane will only succeed if it is applied to a clean and smooth surface and extra care must be taken to ensure this occurs. A sufficient amount of time must be afforded to ensure a proper bond is established when concerning the application of a waterproofing membrane.
Aluminium should be used whenever possible during the installation of the waterproof membrane and surface priming for CFC, concrete, mortar screeds and plywood substrates must be adhered to under manufacturer’s guidelines.
Surface priming will reduce porosity, dusting, pin holing and the collection of high residual moisture which can interrupt the waterproofing membrane as it cures.
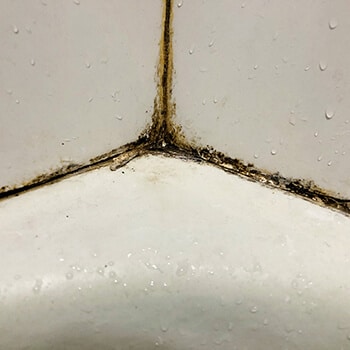
Problem 3: Failed Silicone Joints
Silicone can be found in every area of the home where water is involved. Kitchens, bathrooms, wash rooms and pools to name a few. Silicone is used in these applications to provide a tight water seal along joints.
Over time this material can break down and be non-effective, losing its waterproofing abilities. Visually, you will see discoloration and peeling with the silicone as water has penetrated the seal and weakened its properties.
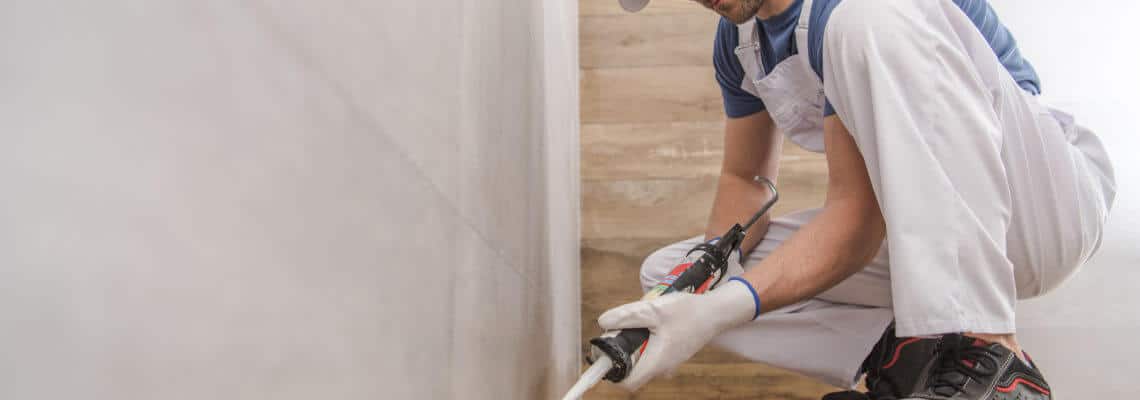
Solution: Replace Silicone Sealant
This job can be time-consuming and requires precise preparation to execute properly. For this reason, many may choose to hire the job out to the professionals, but for those DIY diehards there are steps you can take down your path to handyman glory:
- To start, cut away the worst of the sealant using a sharp blade.
- Apply silicone remover solution to areas affected and allow 2-4 hours for the mixture to soften the silicone and do not let the solution dry out during this time. The application of methylated spirits is required to remove the silicone after the remover solution has had time to work.
- When applying new sealant, ensure that the silicone is affixed firmly into the joint and soak the area in detergent water within 5-10 minutes of application.
Problem 4: Leaking Plumbing
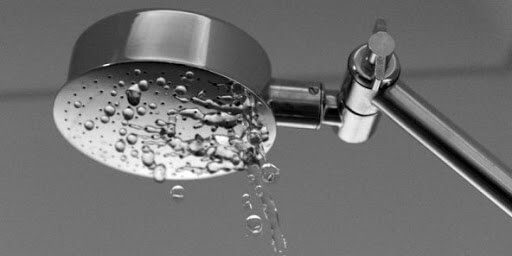
Leaking pipes or fixtures could be an issue that can be difficult to locate.
Problems can be generated by a leaking shower rose, water could be leaking from the hot or cold water pipes in the wall, the shower tray could be leaking or the drainage pipes could be leaking.
All these issues can be costly if not dealt with directly and it is important to do some investigating into the issue before further help is consulted.
Solution: Call a Professional
A professional can run tests to pinpoint where the leak may be coming from and can best diagnose the proper solution for the issue experienced.
The plumber will test your shower tray by focusing on the drainage outlet and searching for leakage under the house or surrounding areas. The next test deals with the pressure on the shower rose and this will determine if the leak is coming from the t-branch. If the leak is continuous, you are more than likely dealing with a leak in the hot or cold water pipes.
A leaking shower should be dealt with directly to avoid time-consuming, costly repairs if ignored.
Mr. Wet Wall has the expertise you need to get the job done right to avoid these issues from occurring. Our expertly trained technicians can tackle almost any job and point you in the right direction to ensure that your shower and bathroom stay beautiful well into the future.
While this post only encompasses some common issues and solutions with showers we also understand that there are many more out there and we stand ready to meet your needs.